Menu

Ready to Take Your Print Business to the Next Level?
Large Format & Digital Printers
Contact Us Today For a Quote

Trending Top Sellers
$980/month NEW Mimaki 64" Hybrid 5 x 11 ft UJ330H-160 The 64" Evolution of Hybrid UV-LED Large Format Printer for Window Graphics, Vehicle Wraps, Heavy Duty Signage Boards and More


$980/month NEW Mimaki 64" Hybrid 5 x 11 ft UJ330H-160 The 64" Evolution of Hybrid UV-LED Large Format Printer for Window Graphics, Vehicle Wraps, Heavy Duty Signage Boards and More
From $639/month - 9 COLORS Prestige XL3 with 3 Epson i3200 DTF Printer Bundle with Auto Powder Shaker/Oven


Sale


From $639/month - 9 COLORS Prestige XL3 with 3 Epson i3200 DTF Printer Bundle with Auto Powder Shaker/Oven
- Price
- From $639
From $481/Month 9-Colour BUNDLE 24" Prestige XL2 PRO New DTF Station Printer with Automatic Powder Applicator/Shaker/Oven/Purifier


Sale


From $481/Month 9-Colour BUNDLE 24" Prestige XL2 PRO New DTF Station Printer with Automatic Powder Applicator/Shaker/Oven/Purifier
- Price
- From $481
New Prestige R2 PRO 13" WITH CUTTER Media Roll DTF Printer 110V A3+


Sale


New Prestige R2 PRO 13" WITH CUTTER Media Roll DTF Printer 110V A3+
- Price
- From $495
New Prestige R1 13" DTF Printer Bundle - Includes Prestige R1 DTF Printer, Startup Package and Compatible Machine Options


Sale


New Prestige R1 13" DTF Printer Bundle - Includes Prestige R1 DTF Printer, Startup Package and Compatible Machine Options
- Price
- From $132
JAGUAR 70" AUTOMOTIVE SPECIAL EDITION PPF/TINT Cutter Plotter with Anti-Static kit and Tint Velvet Film.


Sale


JAGUAR 70" AUTOMOTIVE SPECIAL EDITION PPF/TINT Cutter Plotter with Anti-Static kit and Tint Velvet Film.
- Sale price
- $6,499
- Regular price
- $7,000
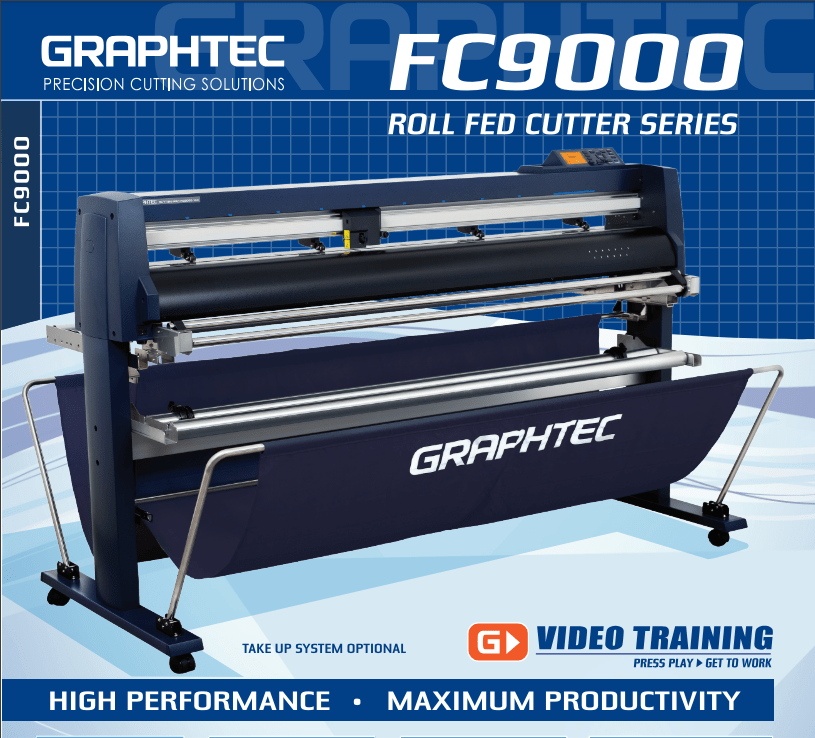
$185/MONTH NEW 64" Graphtec FC9000-160 For Automotive Professionals with 50 ft accurate tracking of Window Tint, PPF Film & Vinyl. Roll-fed Cutting Plotter

Sale


$185/MONTH NEW 64" Graphtec FC9000-160 For Automotive Professionals with 50 ft accurate tracking of Window Tint, PPF Film & Vinyl. Roll-fed Cutting Plotter
- Sale price
- $185
- Regular price
- $225
NEW 51" GRAPHTEC AUTOMOTIVE MODEL WINDOW TINT/PPF ANTI-STATIC KIT Stand, Basket


Sale


NEW 51" GRAPHTEC AUTOMOTIVE MODEL WINDOW TINT/PPF ANTI-STATIC KIT Stand, Basket
- Sale price
- $6,950
- Regular price
- $7,500
NEW 57" GCC AMERICA Expert II LX WINDOW TINTING/PPF/Vinyl Plotter EX-II LX Windows Tint Cutter With Contour Cutting.
![Absolute Toner [52"] New GCC Professional Expert II 52" Wide LX Vinyl Cutter Plotter With Aligning System For Contour Cutting Vinyl Cutters](//www.absolutetoner.com/cdn/shop/files/gcc-expert-ii-1_1_658735c6-5354-4ac6-b32b-155baab50410.jpg?v=1696875559)

Sale
![Absolute Toner [52"] New GCC Professional Expert II 52" Wide LX Vinyl Cutter Plotter With Aligning System For Contour Cutting Vinyl Cutters](http://www.absolutetoner.com/cdn/shop/files/gcc-expert-ii-1_1_658735c6-5354-4ac6-b32b-155baab50410.jpg?v=1696875559)

NEW 57" GCC AMERICA Expert II LX WINDOW TINTING/PPF/Vinyl Plotter EX-II LX Windows Tint Cutter With Contour Cutting.
- Price
- From $39.95
$115/month PLYTRONIX Pneumatic PRO 64” with Anti-Static System, Large Format Auto High-Speed Cold/Hot Laminator for Signs, Graphics, Banners, Prints & More


Sale


$115/month PLYTRONIX Pneumatic PRO 64” with Anti-Static System, Large Format Auto High-Speed Cold/Hot Laminator for Signs, Graphics, Banners, Prints & More
- Sale price
- $115
- Regular price
- $165
$58/month Plytronix Pneumatic Cold Semi-Automatic Applicator Laminator - Air Cylinder Roller – Ideal for Media lamination & Versatile Board Applications


Sale


$58/month Plytronix Pneumatic Cold Semi-Automatic Applicator Laminator - Air Cylinder Roller – Ideal for Media lamination & Versatile Board Applications
- Sale price
- $2,995
- Regular price
- $4,000
UV Flatbed Printer UV-DTF Yinstar A3 Multifunction


Sale


UV Flatbed Printer UV-DTF Yinstar A3 Multifunction
- Sale price
- $5,998
- Regular price
- $9,995
$571/month - NEW Mimaki UCJV300-160 64" Inch UV Light Curable Inkjet Printer And Cutting Plotter With ID Cut Function


$571/month - NEW Mimaki UCJV300-160 64" Inch UV Light Curable Inkjet Printer And Cutting Plotter With ID Cut Function
New Mimaki TxF300-75 31.5" DTF PRINTER (DIRECT-TO-FILM) Printer Dual Print Heads 1440dpi Print Resolution with optional Shaker


New Mimaki TxF300-75 31.5" DTF PRINTER (DIRECT-TO-FILM) Printer Dual Print Heads 1440dpi Print Resolution with optional Shaker
$136/Month New Miro 36 DTF Powder Shaker For Mimaki TxF150-75, TXF300, Epson SureColor G6070C, Roland TY-300i


Sale


$136/Month New Miro 36 DTF Powder Shaker For Mimaki TxF150-75, TXF300, Epson SureColor G6070C, Roland TY-300i
- Sale price
- $156
- Regular price
- $210
$117/Month - DTF x2 Epson Print Heads (110V) YINSTAR A3 13" DTF PRINTER


Sale


$117/Month - DTF x2 Epson Print Heads (110V) YINSTAR A3 13" DTF PRINTER
- Sale price
- $117
- Regular price
- $185
$495/month Mimaki 23.4"x16.5" UJF-6042MkII UV-LED Flatbed UV Printer - REPO LIKE NEW UJF-6042 MkII


Sale


$495/month Mimaki 23.4"x16.5" UJF-6042MkII UV-LED Flatbed UV Printer - REPO LIKE NEW UJF-6042 MkII
- Sale price
- $495
- Regular price
- $843
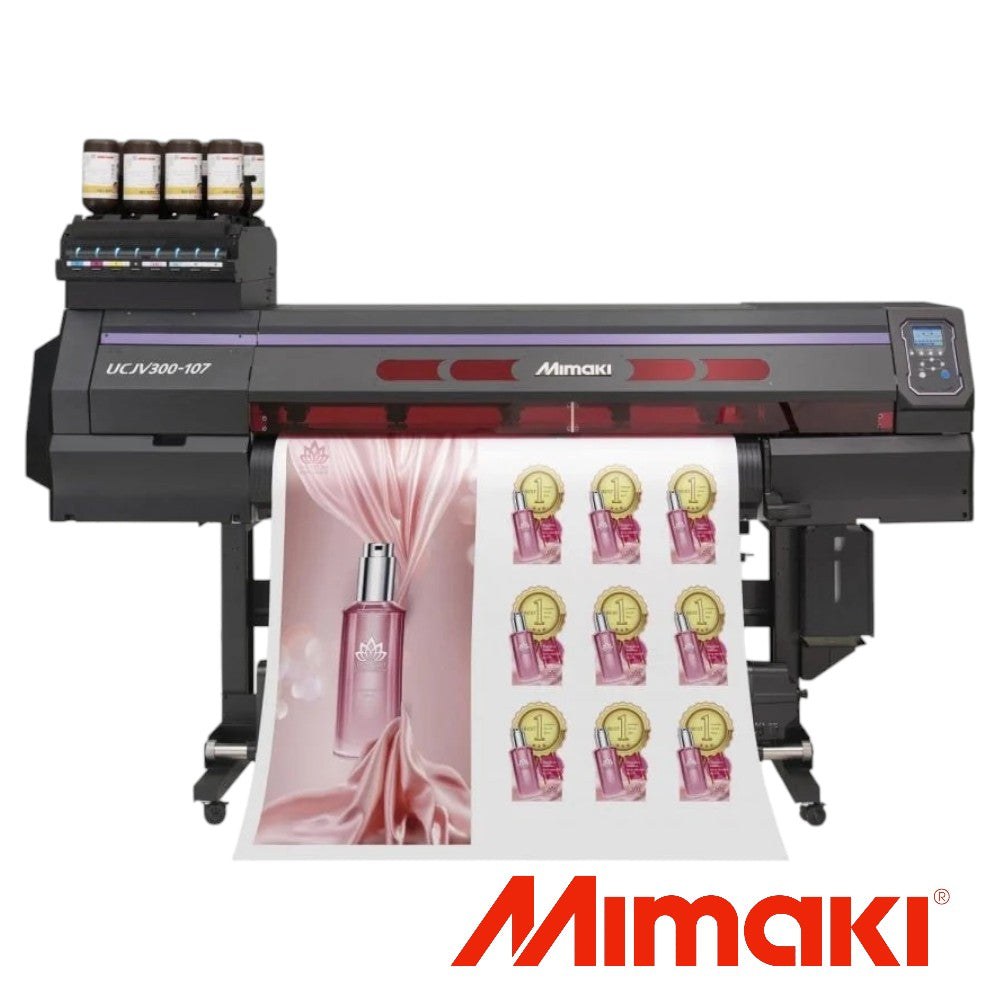
$285/month 42" Mimaki UCJV300-107 2 New Original Heads UV-LED Large Format Printer/Cutter (Print/Cut)

Sale


$285/month 42" Mimaki UCJV300-107 2 New Original Heads UV-LED Large Format Printer/Cutter (Print/Cut)
- Sale price
- $285
- Regular price
- $495
$247/month - PRE-OWNED Mimaki UCJV300-160 UV-LED 64 inch Wide Format Printer/Cutter (PRINT/CUT)


Sale


$247/month - PRE-OWNED Mimaki UCJV300-160 UV-LED 64 inch Wide Format Printer/Cutter (PRINT/CUT)
- Sale price
- $17,995
- Regular price
- $32,000
$398/month NEW DEMO UV 64" 1 YR WARRANTY Mimaki UCJV300-160 UV-LED 64 inch Wide Format Printer/Cutter (PRINT/CUT)
Sale
$398/month NEW DEMO UV 64" 1 YR WARRANTY Mimaki UCJV300-160 UV-LED 64 inch Wide Format Printer/Cutter (PRINT/CUT)
How To Replace Xerox Waste Toner Container

Replacing a Xerox waste toner container is an important step when it comes to maintaining your printer. Not only will replacing the container extend the lifespan of your printer, but it will also optimize the performance of your machine and help reduce environmental impact associated with printing. This post provides step-by-step directions on how to replace a Xerox waste toner container.
Prepare To Replace the Waste Toner Container
Before you begin, it is important to make sure that you have all of the materials and tools necessary to safely and effectively replace your Xerox waste toner container. In addition, you should also check whether your business printer lease covers repair and maintenance. Doing so will help you avoid any unnecessary costs. You will need a new waste toner container, gloves or other hand protection, a Phillips head screwdriver, and an absorbent cloth or paper towels. If you do not want to replace the Xerox waste toners on your own, then you can settle for a Xerox maintenance program.
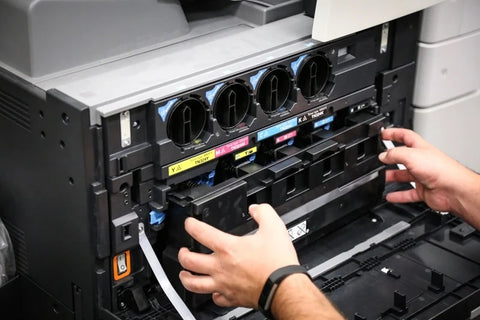
Open the Toner Cartridge Door and Dispose Old Waste Toner

Before you can access the waste toner container, you will need to open the Xerox toner cartridges door on your Xerox machine. To do this, locate the small button that is located near the front of your machine. This is the door release button. Once you have located it, press the button and the cartridge door will open.
Upon opening the toner cartridge door, you should be able to see the waste toner container inside of your machine. Carefully remove it from its compartment and place it on a stable surface. The next step is to properly dispose of the old waste toner container.
Make sure that you do not put it in a trash can or dumpster as this could cause environmental damage. Instead, check with your local recycling program to see if they accept empty toner containers. If they do, then you can drop it off there. Otherwise, contact your Xerox representative for information on how to properly dispose of the container.
Install the New Waste Toner Container

Once you have disposed of the old waste Xerox toner cartridges container, it is time to install the new one. Start by removing the screws that are holding the waste toner container in place. Then, carefully lift out the container and insert the new one in its place. Secure it with the screws and close the toner cartridge door.
Clean Up

Finally, use a damp cloth or paper towels to clean any toner that may have spilled during the replacement process. Make sure that all of the surfaces are free from any particles or residue before you turn your machine back on.
By following these instructions, you should be able to successfully replace your Xerox waste toner container without any issues. Remember to always wear gloves while handling toner and to dispose of the old container responsibly. With a bit of care and attention, your Xerox machine should be running smoothly for years to come. If you are not sure of what you are doing, then you can always signup for a Xerox maintenance program.
Once again, follow these steps to replace your waste toner container in your Xerox machine: prepare your materials, open the toner cartridge door, remove the old waste toner container, dispose of the old container properly, install the new one, and clean up any residue that may have been left behind. With these steps in mind, replacing a Xerox waste toner container should be a simple and straightforward process.
- Choosing a selection results in a full page refresh.